


Design Thinking
BUILD
Bringing your solution into the real world
Course Content for ENT3607 Innovation by Design - Syllabus
Design Thinking > How Might We > Team > Plan > Empathize > Synthesize > Reframe > Ideate > Select > Build > Pitch
In the Build stage, you bring your solution to life by creating a low-fidelity prototype and iterating based on feedback improving the prototype to perfection.
Build and Rapid Prototyping
In the Build stage you build a prototype of your solution so stakeholders can provide feedback.
Rapid prototyping is the key to many innovation frameworks including Design Thinking, Lean Startup, and Agile Development. The concept is simple and logical: rather than sinking a ton of money and time into a single prototype that customers may end up hating, create quick, low-fidelity, crude prototypes that demonstrate the basic principles being tested (sometimes called a minimal viable product), gather feedback, and iterate adding features and adjustments based on frequent user feedback. This ensures that when the development process is finished, customers will love your product.
Through Design Thinking you may create a solution that is software/app, or a physical invention, a service or a system (a way of doing things). Depending on the form your product takes, you will utilize one or more of the following types of prototypes.
Types of Prototypes
-
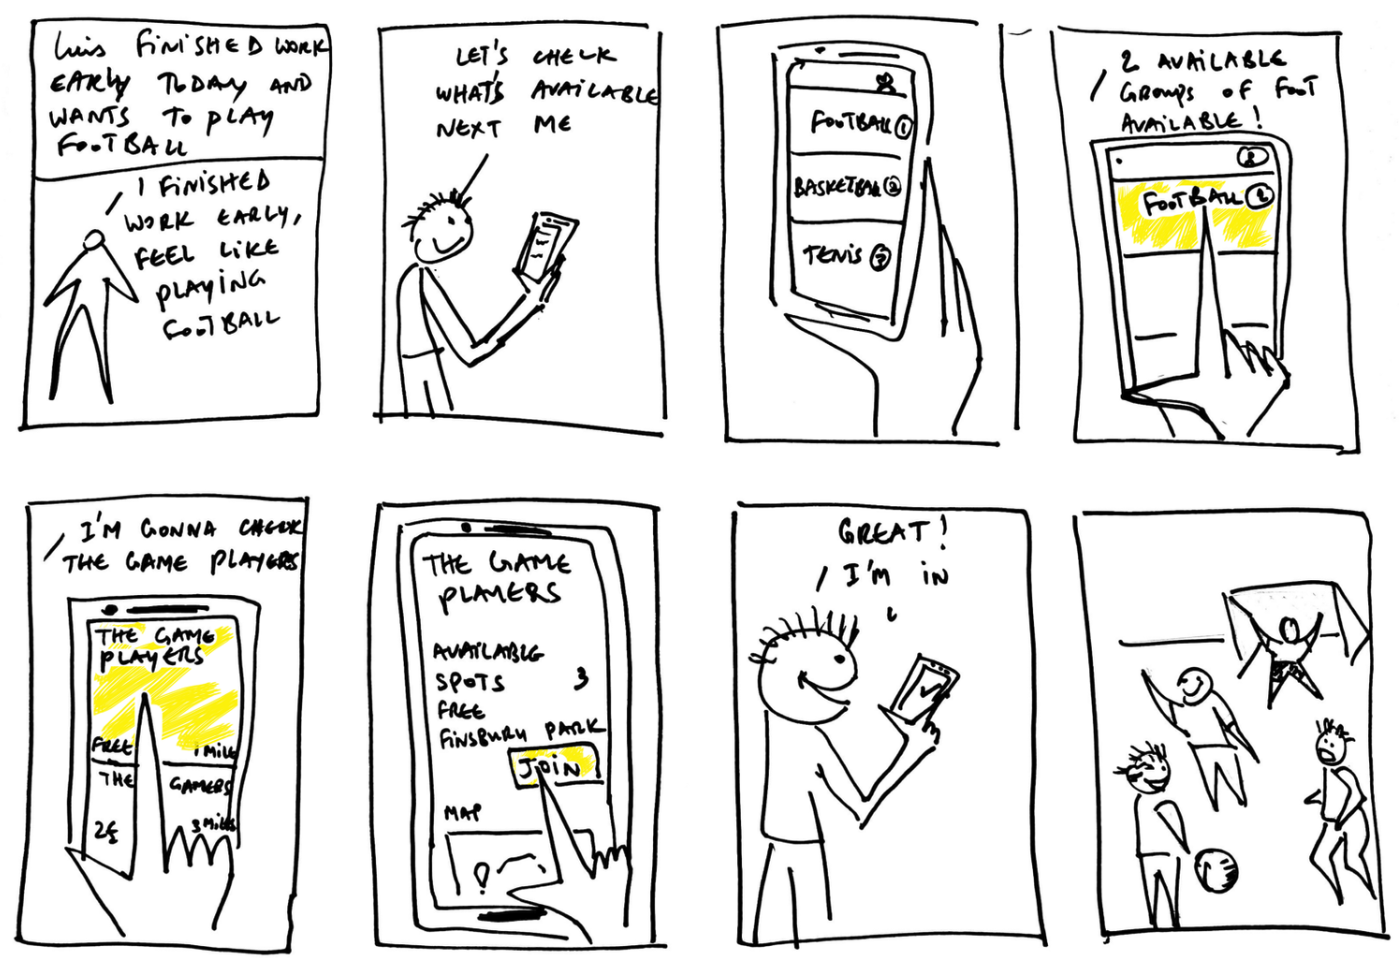
Storyboarding
A storyboard is a simple and powerful tool for modeling a persona's experience and selling a solution. Like a comic strip, a storyboard lays out an experience frame-by-frame depicting key moments in the persona's experience capturing details in both pictures and text. Storyboards are ideal for illustrating the implementation of any kind of solution.
-
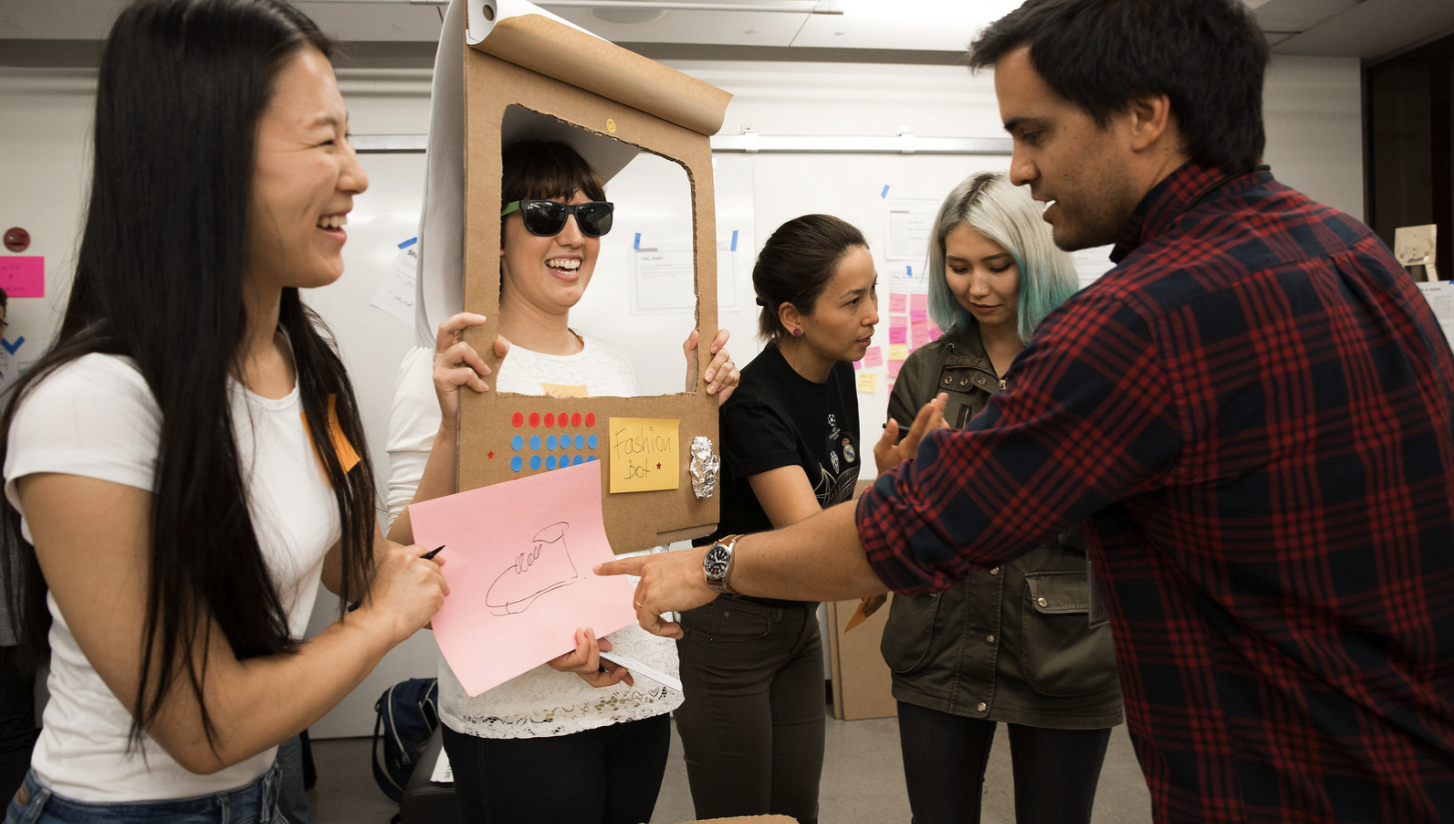
Acting It Out
Acting out scenes from your Design Challenge's Journey Map can literally put you in the shoes of your stakeholders and develop insights that you might not otherwise observe. Acting out is also very useful in determining if a design "feels right" when applied to the problem. Acting out your solution with you team can save embarrassment prior to having users try it out.
A video of your team acting out a solution is an excellent way to present the prototype.
-
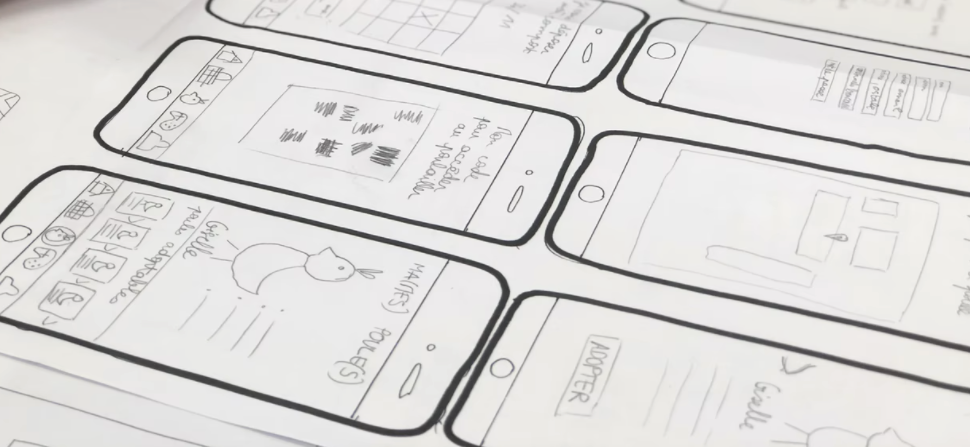
Paper Prototyping
Paper prototyping can be used to quickly create physical 3D models with cardboard, drawings of floorplans, diagrams, and schematics, or screen drawings of digital products.
Pencil on paper is a great first step to showing what you have in mind through illustration and hearing what others think. People are more likely to give candid feedback if they know a lot of time hasn't been invested in an idea.
Simple drawings can be used to show a usage progression to illustrate a user experience with an app.
-
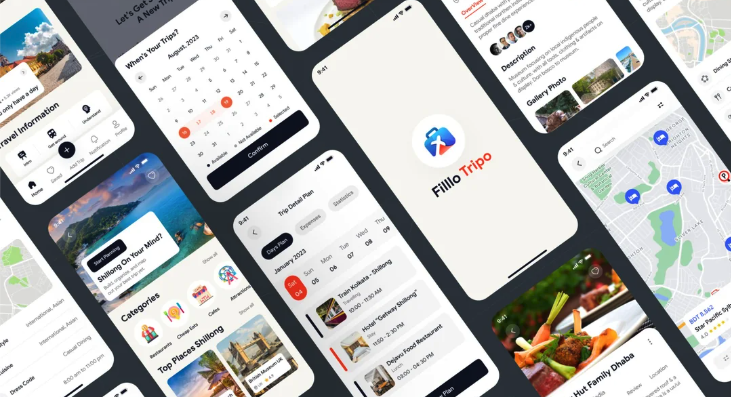
Digital Prototyping
A digital prototype can be developed after sketching things out with paper and pencil.
A digital prototype can take many forms: a slide deck, a website, a spreadsheet, screenshots, a Minecraft scene, or a CAD rendering.
Powerful tools are available that allow you to design a user interface (UI) for an app without the need for coding.
Artificial Intelligence can be time-saving in the production of illustrations, photos, video and other media.
You can also use simple tools such as Microsoft Powerpoint, Apple Keynote, Google Slides to simulate an online app interface. Web tools like WIX can also be powerful in demonstrating the functionality of products.
-
3D Models
There are many forms of modeling using a variety of materials: paper, cardboard, wire, clay, legos, whatever it takes to quickly create a low-resolution model/prototype of your idea to get feedback on your invention idea. If you’ve never used crafting materials to build a prototype you should give it a try! Getting your ideas out in physical form is a great way to get your idea across and collect valuable feedback.
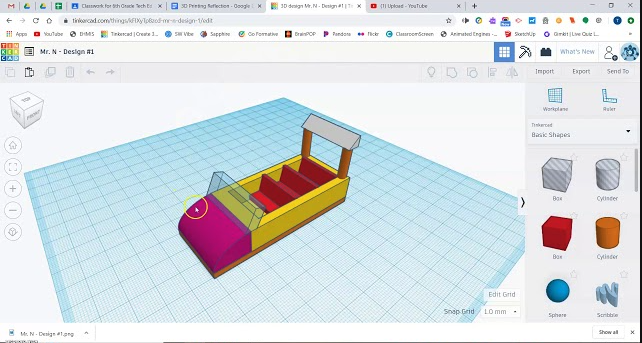
When designing actual physical products, designers often start with crafting materials to collect feedback on a rough design. Then, as the design is refined, they might move to developing a more detailed 3D design in CAD software. Tinkercad is easy-to-use free web-based software that allows users to design physical objects. Once designed, the object can be exported for printing on a 3D Printer.
Building a Business and Brand
As you work on developing your prototype to demonstrate your solution, it is a good time to assign a team member or two to work on your business and brand.
Your team has a valuable solution to sell. Consider what kind of business your might create to provide the solution and how you might be financially supported. Every solution has a cost. How will people pay for it?
Consider a business name, mission and vision for your solution.
Identifying as a businsess with a brand will help you sell your solution to investors and customers.
Marketing Guru, Seth Godin, describes a brand as a “set of expectations, memories, stories and relationships that, taken together, account for a consumer’s decision to choose one product or service over another.”
A brand has visual elements that allow people to recognize the brand. They include a slogan, a logo, a color palette, and a font type.
Activities
-
Storyboarding
In-class team activity
40 minutesWithout any discussion have each team member draw a storyboard of how they think the solution is implemented.
Have each team member pitch their storyboard to the team and collect feedback.
After hearing from all team members, work together to create a team storyboard using the best ideas from each team member’ boards.
Optional: Pitch your team storyboard to the class for feedback.
-
Prototyping
In-class team activity and homework
30 minutes in class, perhaps hours outside of class
Have a team discussion about how best to prototype your solution. Which of the above methods will work best in showing how your solution is applied?
Assign the task of prototyping to team members most skilled and/or interested in developing the prototype. - don’t worry, there will be tasks for other team members in the next activities.
-
Business and Branding
In-class activity and homework
30 minutes in class, perhaps hours outside class
As we draw near the end of our Design Thinking process, and prepare to pitch our idea, there is plenty of work to go around.
As some team members are working on a prototype, others need to work on building the business and brand.
Take time to decide on a descriptive business name for your team and develop a business mission, vision, and slogan. Use free online tools such as https://logomakr.com/ and https://color.adobe.com/ to develop a business logo and color palette that you will use in your prototype and pitch.
Check your understanding of Building
What is the purpose of a prototype?
List five types of prototypes and how they are used.
What are some components of a brand.
Resources
Vidoes
To Make Big Decisions Use Design Thinking and Prototyping
https://www.youtube.com/watch?v=q7LRxKHdao8Rapid Prototyping: Sketching | Google for Startups
https://www.youtube.com/watch?v=JMjozqJS44M&t=2sDesignThinking - 11. Storyboarding the New Journey
https://www.youtube.com/watch?v=rv5N6wXjVNg&t=2sMobile Application Design : Paper Prototype Video
https://www.youtube.com/watch?v=y20E3qBmHpg&t=11sRapid Prototyping: Digital | Google for Startups
https://www.youtube.com/watch?v=KWGBGTGryFk&t=4sProto.io | Prototyping for all.
https://www.youtube.com/watch?v=87H21BTn_9QBeginning Graphic Design: Branding & Identity
https://www.youtube.com/watch?v=l-S2Y3SF3mM